How to Docs
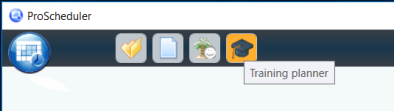
ProScheduler – Training Planner
Requires license
The training planner is used to plan training sessions for a pre-optimized or post-optimized planning period and allows the user to create training items and select employees.
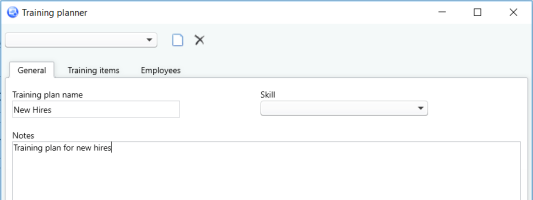
To create a training plan, click on Create a new training plan icon, this will also enable the “General”, “Training items”, and “Employees” tabs.

General Tab
Enter the Training Plan name.
It is not necessary to select a skill unless you want to filter the employee list to see only those agents without a particular skill. Otherwise, leave it blank. If you select a skill from the drop-down list, employees that have this skill will not be listed on the “Employees” tab.
The Notes section is free form text.
Click on Save (bottom of page)
Note: Currently the Skill functionality has not yet been completed. Once completed it will be used to update the employee records at the completion of the training.
Training items tab
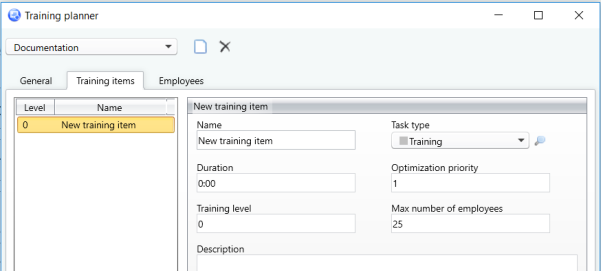
In the lower left corner click on Add a new training item. This must be done prior to entering any of the New training item fields.
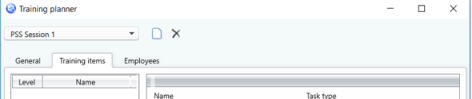

The default record is added showing Level 0 and Name “New training item”.
-
Enter the name of the training item
-
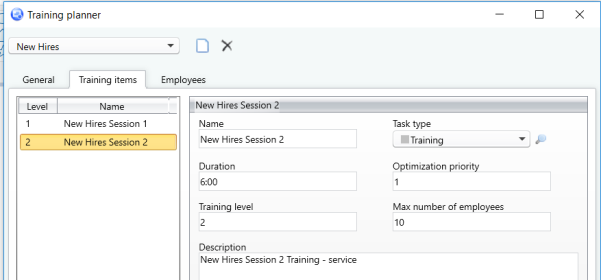
Select a task type from the drop-down list. This drop-down list is populated based on the task types shown as type training or meeting on the Settings -> Task Type page
-
Enter a duration (h:mm) for the training
Note: If the minimum task length on “employee manager” restriction tab is set to a duration higher than the duration of the training item, it will not schedule the training item.
-
Optimization priority (this is a future enhancement and currently not functional)
-
How important is the training compared to regular work? Like the skills, you can tell the system, which is more or less important (you can enter 0.5 if the priority is to be less than the priority set on the Account groups / Skills page)
-
The greater the number the higher the priority
-
If the optimization priority is left as set to zero nothing will be scheduled
-
-
Training level
-
Which order will it appear in the schedule. If there are multiple levels, the employee must finish the first one before you can do the second one.
-
-
Max number of employees
-
The maximum number of employees per training session (currently there is no minimum)
-
Example: if you want a max of 5 scheduled per occurrence, then the value entered would be 5, if you want 10 then the value would be 10, etc.
-
This is not the total number of all employees you want scheduled for the training, just how many off of the phones at one time.
-
-
Description
-
Free form text
-
-
Click on Save – this will update the Level and Name in the box to the left
Note: You can have multiple training items in one training plan, just repeat the steps for each item.
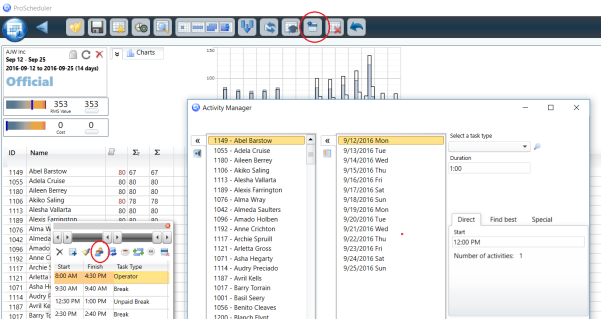
To add possible dates for the training click on the Add date(s) to the training item icon. The Add dates box is displayed. Select the date(s) for which you want the training to be applied. Start/End time is the range/window when the training can be applied to the schedule.
Note: If you select a range of dates from the calendar each date will be listed separately on the possible date list.
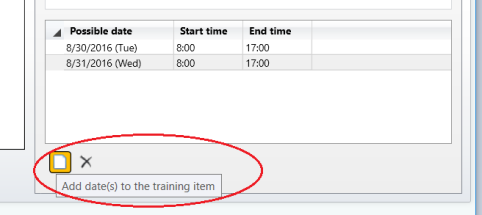
Click on Save
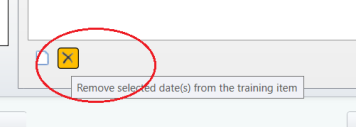
Remove selected date(s) not working. This has already been reported and is on the fix list.
Employees tab
Note: the employee name list is displayed based on the contact center and planning period selecting in the scheduling module.
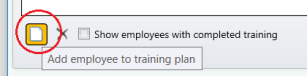
Click on the Add employee to training plan icon, lower left corner.
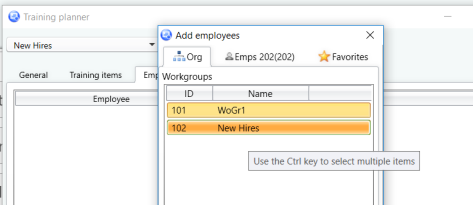
From the Add employees pane you can select agents by workgroups or an employee list.
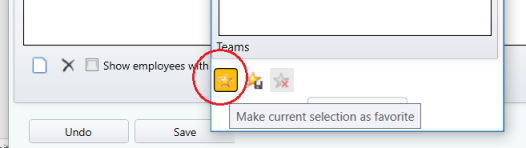
Using the favorite icons at the bottom of the pane you can create lists of agents and retrieve them using the Favorites tab on the Add employees pane.
Optimizing
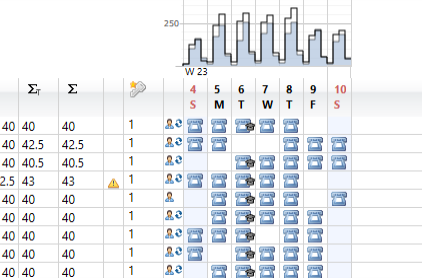
For pre-optimized planning period, select optimize, once completed it will show the graduation hat icon for View/edit planned training and the graduation hat icon on each employee schedule.
When planning for those on cyclic schedules from the optimization pane click on Methods tab and check the box for Plan training on all shifts. This will be limited to only operator shifts. This option on the Methods tab will only appear if a Training Planner has been created for the planning period selected.
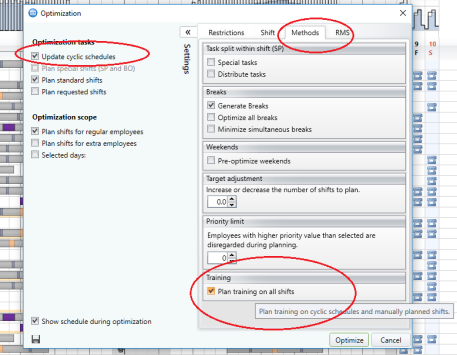
For post-optimized planning period, select optimize, uncheck all under Optimization tasks, check Plan shifts for regular employees under optimization scope, on the methods tab uncheck breaks, and check Plan training on all shifts.

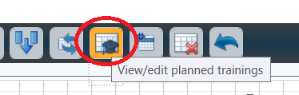
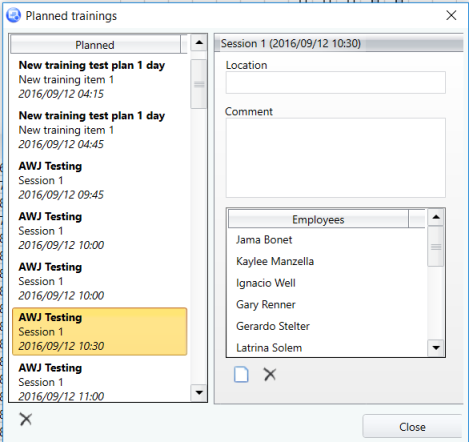
Clicking on the View/edit planned trainings icon on the top task bar it will bring up the Planned trainings page.
From here, you can view the training that has been scheduled; the employees assigned, make edits and delete the selected training occurrence.

Tool for editing shifts -> meeting and other special actives icon for post-optimized planning periods.