Create a Click to Dial Flow
A flow represents the business logic of a call, and tells CxEngage how to handle the functions of a call – for example, dialing out.
You'll need to create a new flow for Click to Dial before you can use that feature. Before creating the flow, your must have:
- A media file to play for hold music
- A telephone number that is assigned to your tenant, whether or not it is currently mapped to a flow
- A list for disposition codes
To create a Click to Dial flow:
- Log into your instance of CxEngage.
- Go to Flows > Flows.
- Click Create.
- In the dialog box that appears:
- Type a Name for the flow, such as Click to Dial
- Select Customer from the Type list
- Click Submit
The Flow Designer opens.
- Drag and drop an Entry event (which indicates the beginning of a flow) into the Flow Designer window.
- Drag and drop a Click to Dial activity into the Flow Designer window.
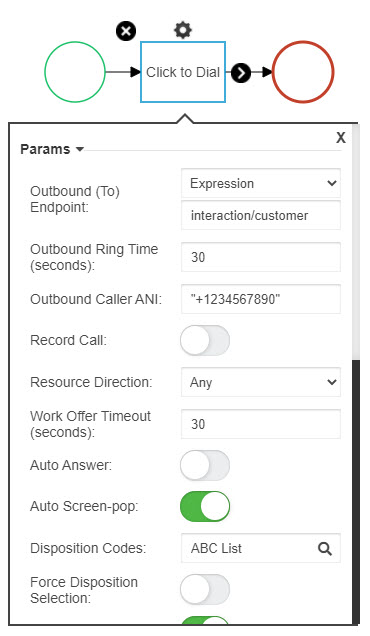
- Enter the desired Click to Dial parameters.
- Add an Exit event and connect the elements of the flow.
- Click the gear icon on the canvas to access the flow settings and select the Flow Defaults tab. Enter the default settings to use for your Click to Dial interactions.
- Publish the flow.
The result should look something like this:
Next, you'll need to create a dispatch mapping to map a telephone number to this flow.
