Managing Outbound Identifier Lists
If you have outbound identifier lists configured for your tenant, you can view and manage them under Configuration > Outbound Identifier Lists.
| To manage an outbound identifier, you must have either the default Administrator or Supervisor role or a custom role with the OUTBOUND_IDENTIFIER_MODIFY permission. |
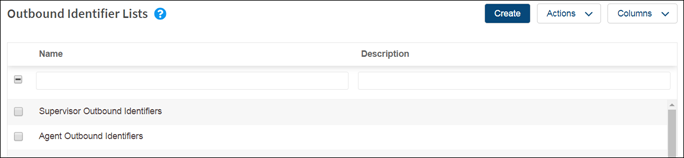
The Outbound Identifier list page displays the following information for each list:
- Name: A unique name.
- Description: Optional. A short description of the outbound identifier list.
Updating an Outbound Identifier List
To update an outbound identifier:
- Select the row for the outbound identifier list that you want to update.
- Update any of the parameters. You can update the following parameters.
- Enter a new Name for the outbound identifier list.
- Optionally, update the Description.
- Update the list items:
- To add more items, click the plus (+) icon above the outbound identifier list table. The Add list items window appears. Click the plus (+) icon in the Actions column for the outbound identifier you want to add to the list.
- To remove items, click the remove (x) icon in the Actions column for the outbound identifier you want to remove.
- To disable items, click the green toggle in the Actions column for the outbound identifier you want to remove.
- To modify the details for an outbound identifier, see Managing Outbound Identifiers.
- Click Submit.
Disabling an Outbound Identifier List
The toggle at the top of the right panel indicates whether the outbound identifier list is enabled or disabled. If the toggle is green, the outbound identifier list is enabled. If the toggle is grey, the outbound identifier list is disabled.
To disable an outbound identifier list:
- Select the row for the outbound identifier list that you want to disable.
- Click the green toggle at the top of the panel.
- Click Confirm on the confirmation message.
To enable an outbound identifier list:
- Select the row for the outbound identifier list that you want to enable.
- Click the grey toggle at the top of the panel.
- Click Confirm on the confirmation message.
